
")

arduino oled . Hello there! Fellow electronics enthusiasts, I am quite sure we all make some or other projects, as a part of our learning experience and academics. and So We sure would want to display some data present on our micro-controllers, from sensors or simply display some message. therefore here is a quick tutorial about OLED displays, in which we will learn how to wire and program a 0.96inch OLED Display with Arduino Microcontroller. and so follow up this instructable to understand and display your own Message on a OLED Display.
Step 1: Watch the Video ( arduino oled)
Step 2: Gather the Material
therefore for this Tutorial, we will require only 3 things.
2. and we will need Arduino Uno / Nano
arduino oled
Step 3: Wiring
and Since this OLED works on I2C Communication, we have to connect
only 4 pins to Arduino
OLED has Sck (i.e. clock), SDA (i.e. Data) and Power pins i.e VCC and Ground.
On the Arduino UNO Board, we have SDA at A4 and SCK at A5.
Connections for OLED to Arduino
- Vcc – 5V
- Gnd – Gnd
- SDA – A4
- SCK – A5
arduino oled
Step 4: I2C Scanner
arduino oled.
and since we know that each I2C device has different Hexadecimal Address.
since this OLED uses I2C Communication protocol, we have to find the I2C address for the display.
this could be done by uploading the following code onto your board with the device connected.
Step 5: Download and Include Libraries
arduino oled. and you will need to include the following libraries into your IDE before staring the code.
and you can include these libraries by following the steps.
- go to Sketch menu.
- select Include Libraries.
- and go to Manage Libraries.
- search for ADAFRUIT GFX and INSTALL it.
- search for ADAFRUIT SSD1306 and INSTALL it.
else, you can install it externally using the following link.
Step 6: Testing the Display
and so to check if everything works as expected, lets run an example file to test the display.
steps
- go FILE > EXAMPLES > SSD 1306 > Select 128 X 64 i2c
- if you get and Error, try SSD 1306 > Select 128 X 32 i2c
- and change the I2C Address on line 61 and replace it with the address you found in step 4.
- upload the code
and once uploaded, you will see the test animation on the screen, which means you have successfully set up the oled.
arduino oled
Step 7: Write Your Own Message
to write our own message(arduino oled),
and so now we will first open a new sketch on IDE,
then Include these 4 Libraries in the header
, then we will write the Reset Protocol.
Now, in VOID SETUP, we will Begin the display and Clear it
also, here we have ( 0 x3C ) as hexadecimal I2C Address, so change it as shown in step 4
so In Void Loop, we will write our Main Code i.e. the message we want to display
and For which, will need to Describe the TEXT size, TEXT color, Cursor Position and then finally write the Message using println command
Don’t forget to write display.display else we will get a blank screen.
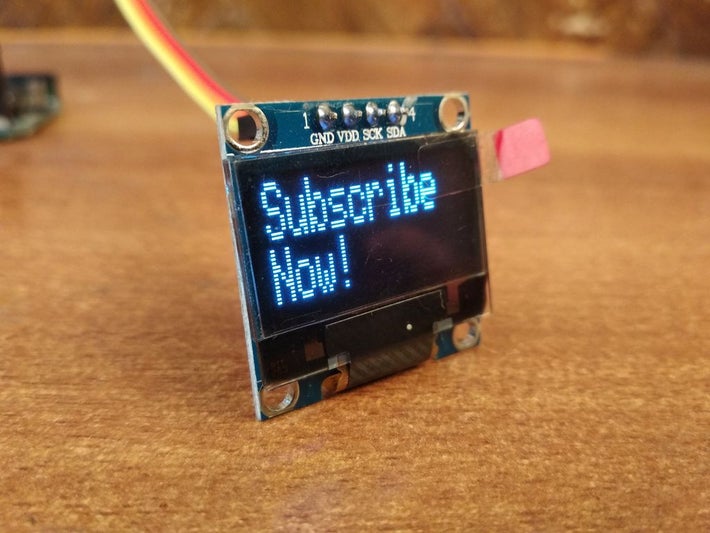
ans so If you followed up properly, this is how the output of the following code should look like.
.
.
.
the entire code is as


2 Comments
I think this is among the such a lot vital info
for me. And i’m happy studying your article. But want to observation on some general issues,
The web site style is perfect, the articles is actually great
: D. Good activity, cheers
thank you